1.Introduction
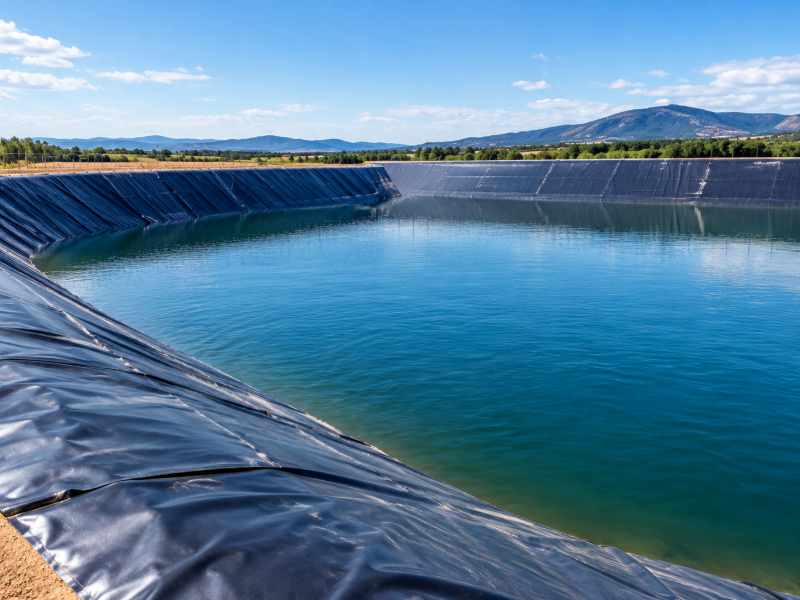
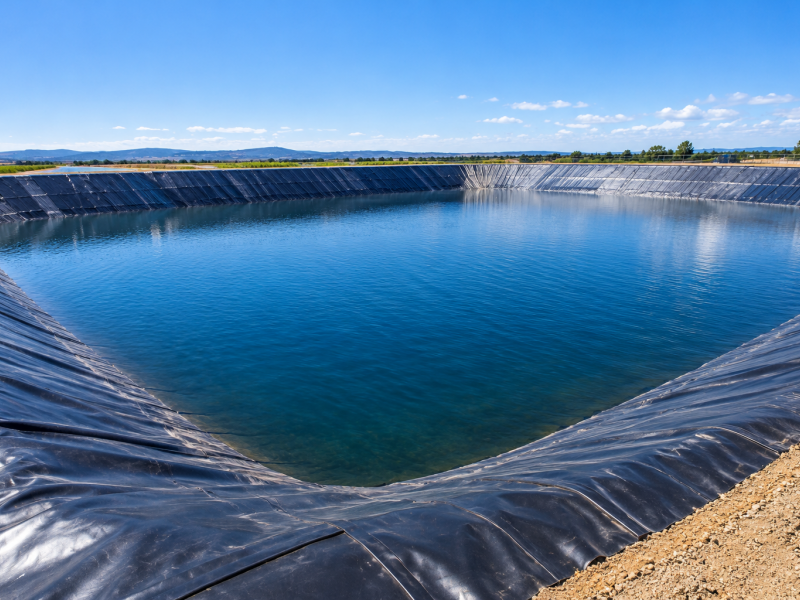
High-Density Polyethylene (HDPE) geomembrane is a cornerstone of modern containment engineering, used extensively in landfills, mining operations, wastewater treatment facilities, and pond liners. Its exceptional chemical resistance, durability, and impermeability make it the material of choice for environmental protection and liquid containment. However, the performance of an HDPE liner depends almost entirely on the quality of its installation. A flawlessly manufactured geomembrane can fail completely if improperly deployed, seamed, or protected. This guide provides a comprehensive overview of the HDPE geomembrane installation process, covering everything from site preparation to seam testing and quality assurance, based on industry best practices and technical specifications.
2. Pre-Installation Planning and Site Preparation
2.1Subgrade Preparation
The foundation upon which the geomembrane rests is critical to its long-term performance. The subgrade must be properly prepared to eliminate any risk of puncture or stress concentration.
- Clearing and Grubbing:All vegetation, roots, debris, rocks, and any sharp objects must be completely removed from the area.
- Compaction:The soil must be compacted to the density specified in the project design to prevent future differential settlement, which could stress the liner.
- Smooth Surface:The final surface must be smooth and free of projections. If sharp rocks or coarse gravel cannot be removed, they must be covered with a protective cushion layer, typically a minimum of 15 cm (6 inches) of sand. A final pass with a smooth-drum compactor ensures a uniform surface.
- Dewatering:Installation should not proceed if standing water is present on the prepared subgrade.
2.2Geotextile Underlayment
In many applications, particularly over rocky or questionable subgrades, a protective non-woven geotextile is installed directly on top of the prepared subgrade. This acts as a cushion, providing an extra layer of puncture protection for the HDPE liner. A geotextile with a minimum weight of 300 g/m² is commonly specified for this purpose.
2.3Installation Plan and Pre-Construction Meeting
Before any liner is deployed, a detailed installation plan must be submitted for approval. This plan should identify seam layouts, panel numbering, and details for all penetrations and anchor trenches. A pre-construction meeting is also essential. This meeting brings together the installer, owner, engineer, and earthwork contractor to establish lines of authority, communication, review the project schedule, and agree on procedures for quality control and weather limitations.
3. Material Handling and Deployment
3.1Storage and Handling
Proper storage protects the geomembrane from damage before it is installed.
Rolls must be stored off the ground on a smooth, level surface to prevent deformation.
They should be protected from mud, dirt, puncture, and UV sunlight.
Rolls should not be stacked more than three high.
Each roll must be clearly labeled with the manufacturer’s name, product identification, thickness, roll number, and dimensions.
3.2Deployment Techniques
The deployment of geomembrane panels requires care and specialized equipment.
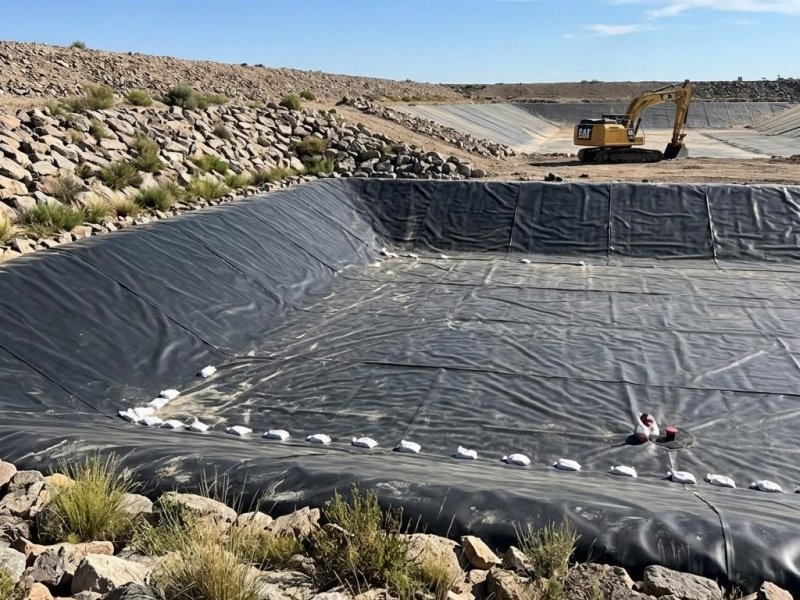
Rolls should be deployed using a spreader bar on an excavator or other heavy equipment to avoid dragging them on the ground.
Work should be scheduled for calm days, as wind can catch the large sheets, creating a safety hazard and causing damage.
Panels are placed according to the approved layout plan, with sufficient overlap (typically 10-15 cm) for welding.
A small amount of slack (3-5%) is necessary to accommodate thermal expansion and contraction, but excessive wrinkles that can hinder welding must be avoided. Seams should generally follow the direction of the slope, and cross seams on steep slopes should be avoided or staggered if unavoidable.
4. Welding Seams: Techniques and Parameters
Welding is the most critical step in HDPE geomembrane installation. The integrity of the entire containment system depends on the strength and watertightness of the seams. The two primary welding methods are fusion welding (hot wedge) for long, straight seams and extrusion welding for detail work, repairs, and penetrations.
4.1Fusion Welding (Hot Wedge Method)
Hot wedge welding is the preferred method for joining the main panels of HDPE liners. It uses a heated metal wedge to melt the overlapping surfaces, which are then pressed together by rollers to form a continuous, homogenous bond.
Seam Preparation: The overlap area must be perfectly clean, dry, and free of dust, dirt, or moisture.
Trial Weld: Before beginning production welding each day, and anytime conditions change (e.g., temperature, speed), a trial weld must be performed on scrap pieces of the geomembrane. Samples (typically 0.9mm x 0.3mm) are then tested using a field tensiometer to confirm that the welder’s temperature, speed, and pressure settings are correct.
Production Welding: The welder travels automatically along the seam. The operator must guide the machine to maintain a straight path and consistent speed. This process creates a characteristic “double-track” weld with a small air channel in the center, which allows for non-destructive testing.
4.2Extrusion Welding
This is a manual process used for attaching patches, repairing damaged areas, and welding around pipes, sumps, and corners.
Surface Preparation: The area to be welded is abraded with a grinder to remove the oxidized layer and create a surface for the molten plastic to bond to. For membranes thicker than 2mm, the edge of the patch should be beveled at a 45° angle to improve weld strength. The abraded surface is only valid for a short period (e.g., 20 minutes) before re-oxidation occurs.
Welding: The operator uses a handheld extruder to lay a continuous bead of molten HDPE over the prepared seam, applying consistent pressure with a Teflon shoe to create a void-free weld. The welding rod used must match the composition of the parent liner exactly.
4.3Critical Welding Parameters
The success of a weld depends on balancing three key variables: temperature, speed, and pressure. These are not fixed; they must be adjusted based on material thickness and weather conditions.
Parameter | Influence | Common Range / Consideration |
Temperature | Melts the HDPE surfaces for bonding. | Starts at ~280-400°C, adjusted based on thickness. |
Travel Speed | Controls the dwell time the material is heated. | Typically 1.5 – 2.8 m/min, adjusted based on temperature. |
Pressure | Forces the molten layers together for fusion. | Applied by rollers; too much pressure can thin the material. |
Weather Impact | Crucial variable. | Sunlight can heat the black membrane surface to 60°C, requiring lower temperature settings in the afternoon. Welding must stop below 5°C or above 40°C. |
5. Quality Assurance and Quality Control (QA/QC)
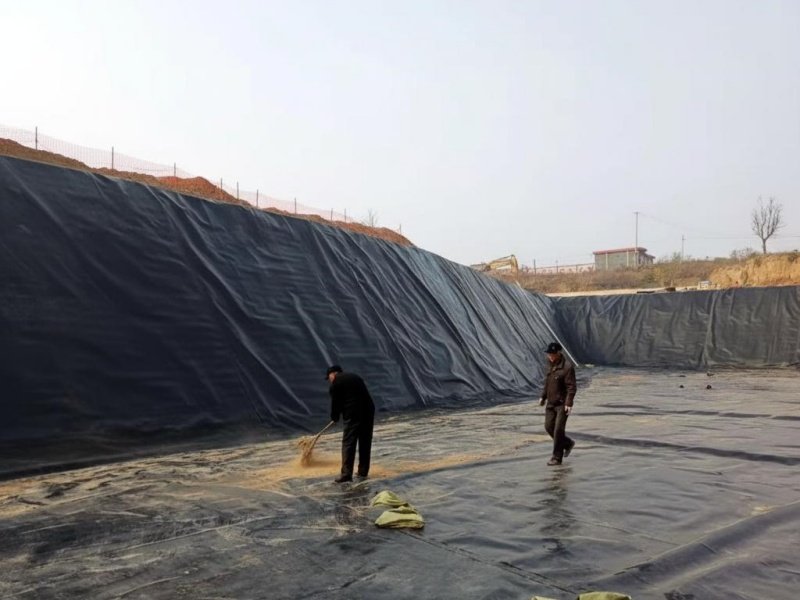
Quality control is not a single event but a continuous process throughout the installation. It begins with the manufacturer’s qualification—the manufacturer should have at least five years of experience producing the specified geomembrane type.
Non-Destructive Testing (NDT)
Air Pressure Testing: For double-track fusion welds, a needle is inserted into the air channel, and it is pressurized with air. If the pressure holds for a specified time (e.g., 2-3 minutes), the seam is considered sound.
Vacuum Box Testing: Used for extrusion welds and patches. A vacuum box is placed over the seam, and a soapy solution is applied. Bubbles indicate a leak.
Destructive Testing
This is the most critical test, as it provides the only direct evaluation of the seam’s strength and bonding efficiency. Test strips are cut from trial welds and production welds (e.g., one sample per 150 meters of seam) and sent to a laboratory for peel and shear testing. The test results must meet the project’s minimum strength requirements.
Documentation
Thorough documentation is essential for project acceptance and warranty. Records must include:
Panel and seam locations.
Welding operator and equipment identification (e.g., Welder ID: W-02).
Welding parameters (temperature, speed, pressure) for each shift.
Dates and results of all destructive and non-destructive tests.
Location and details of all repairs
6. Covering and Protection
Once the liner and seams have passed all inspections and tests, it must be covered according to the project design.
Notification: The installer must notify the owner’s representative before any material is placed over the geomembrane and receive authorization to proceed.
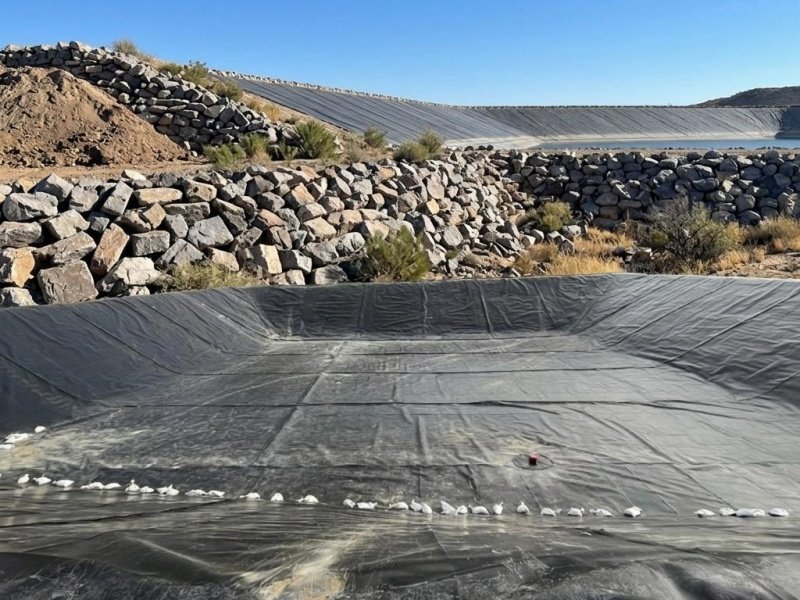
Damage Prevention: The material covering the liner (often a protective soil or gravel layer) must be placed carefully to avoid damaging the geomembrane. Wrinkles should be pushed to the perimeter to prevent them from being folded over and creating a vertical ridge.
Access for Repairs: The installer should remain available during the cover placement process to repair any damage that may occur.
7. Installation Warranty
A professional installation should come with a warranty. The Geomembrane Installer typically guarantees the installation against defects in workmanship for a period of at least one year from the date of final acceptance. A manufacturer’s certificate of proper installation is also often required to ensure the material warranty remains valid.
8.Conclusion
The successful installation of an HDPE geomembrane is a complex, multi-stage process requiring meticulous planning, skilled execution, and rigorous quality control. From the moment the subgrade is prepared to the final destructive testing of a seam, every step is crucial. By adhering to the guidelines and best practices outlined in this guide—including proper deployment, precise welding, and thorough testing—engineers and installers can ensure the creation of a durable, leak-proof containment system that will provide reliable performance for decades.